Direct answer
The decision in brief
Evaluate a guitar sample in a fixed sequence: confirm identity and specification, document arrival condition, allow appropriate acclimatization, inspect construction, measure setup, play every fret, test hardware and electronics, review packaging, then record adjustments separately from defects. Approve the sample only against written requirements and treat it as a reference, not proof of shipment-wide consistency.
Prepare the sample record before opening the carton
Create a record with supplier, model, finish, serial or sample identifier, claimed specification, date received, shipment method and reviewer. Save the specification version supplied with the sample. Product names can stay the same while materials or hardware revisions change.
Photograph every side of the carton and note impact, puncture, moisture or compression. This helps separate shipment damage from a recurring assembly issue. If the instrument arrives after exposure to extreme heat or cold, allow it to approach room conditions before tuning or adjusting it. Record the room temperature and relative humidity when they are likely to affect the result.
Use the right tools
A basic kit may include a tuner, capo, feeler gauges, string-action ruler, straightedge, magnifier, clean cloth, suitable amplifier and cable, fresh battery where needed, and a scale for weight. Calibrate measuring tools and use the same method across samples. Never force a truss rod or hardware adjustment to complete a checklist.
Follow one inspection sequence every time
- Identity: confirm model, finish, configuration, included items and labels.
- Arrival condition: record carton and case condition before cleaning or setup.
- Construction: inspect joints, finish, binding, neck alignment and hardware installation.
- Neck and frets: check relief, fret ends, level symptoms, nut function and truss-rod response.
- Setup: tune, measure action and test intonation before changing anything.
- Function: test tuners, bridge, controls, switches, output and batteries.
- Play test: use every fret, several dynamics and the intended application.
- Packaging: repack the instrument and assess protection and customer usability.
The order matters. Cleaning, string changes or adjustments can erase evidence of the received condition. Record both “as received” and “after adjustment” results.
Inspect construction and finish without confusing variation with defects
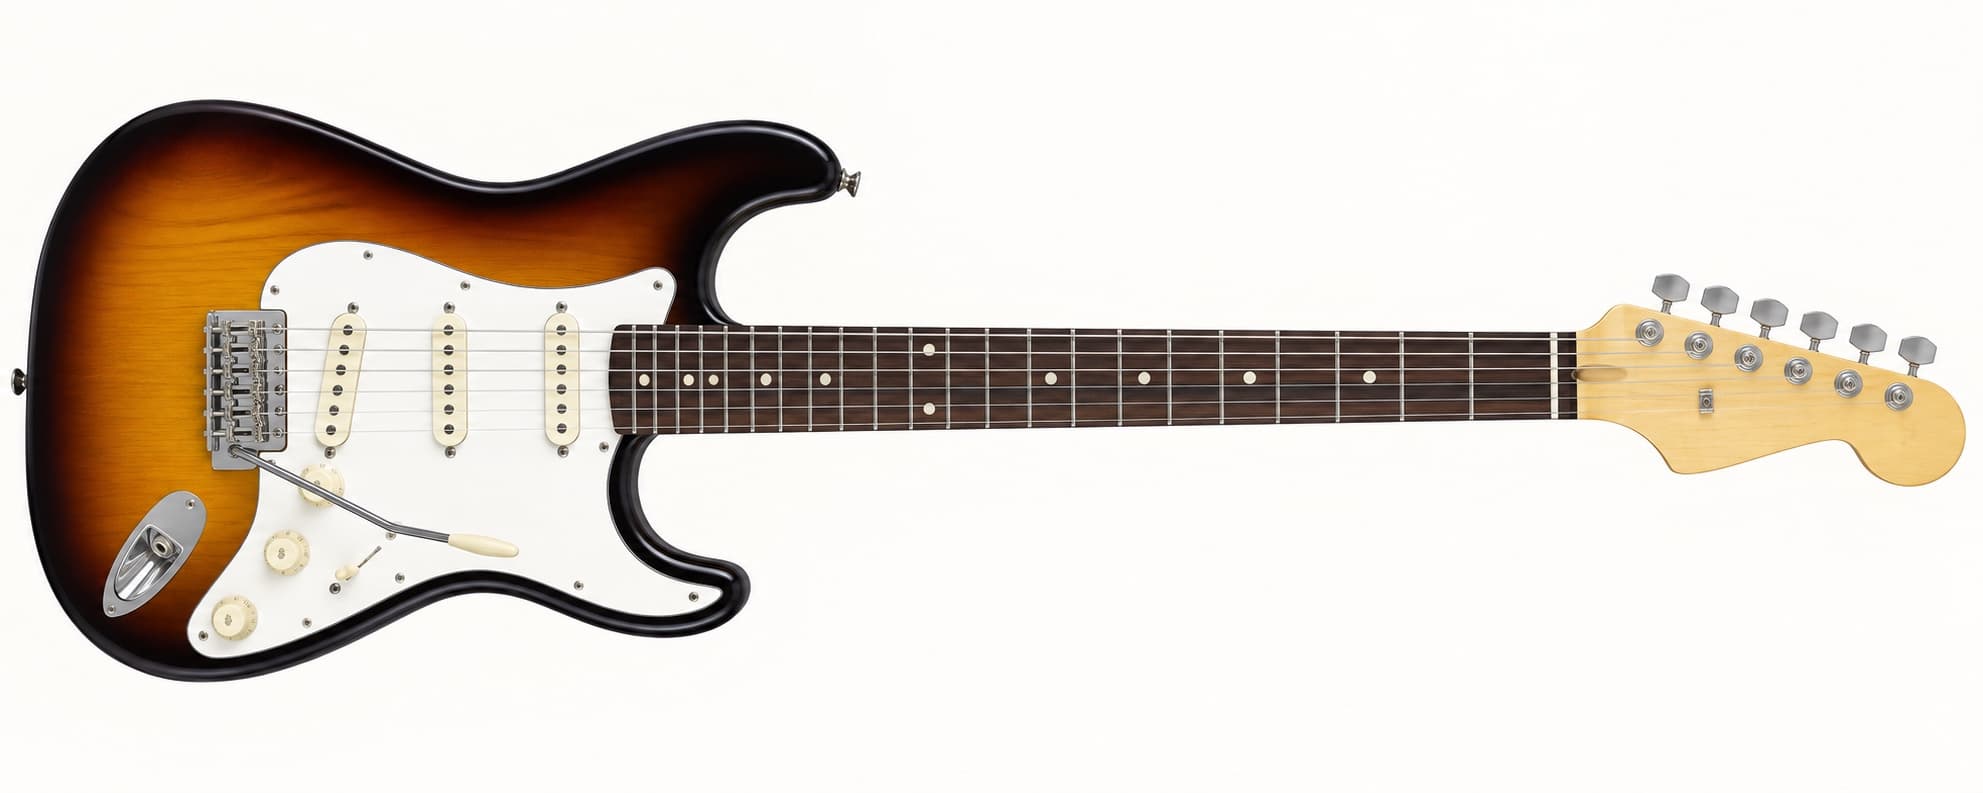
Look along the neck and body centerline. Check joint fit, bridge placement, top or body deformation, finish contamination, cracks, loose parts and sharp edges. On acoustics, inspect inside with a light or mirror when practical for loose braces, glue debris and wiring. On bolt-on electrics, a small visual gap may not by itself indicate structural failure; assess alignment, stability and the agreed cosmetic standard.
Natural wood varies in color and grain. Define which variation is acceptable with reference photographs instead of rejecting difference as inconsistency. Finish standards should identify viewing distance and lighting. A tiny mark visible only under magnification is not equal to a chip seen at normal retail distance.
Confirm installed components against the approved specification. Do not identify wood species, alloy or pickup construction from appearance alone. Ask for documentation or part references when the claim matters.
Measure setup as a connected system
Tune to the intended pitch with the specified string set. Check relief before action because neck curvature affects string height. State the fret and string for every action reading. Check nut-slot behavior through tuning, open-string clarity and first-position feel. Then play every fret and listen for localized buzz, choking, sitar-like noise or dead response.
Published manufacturer values are useful examples of method, not a universal purchase standard. Fender’s factory guidance, for instance, changes relief and action references by fingerboard radius and warns that playing application and string gauge require adjustment. Define your own received-condition and adjustable-condition rules by model.
Test intonation after relief and action are understood. A sample that adjusts cleanly into target may be acceptable even if transit changed the received setup. A twisted neck, seized truss rod, insufficient saddle range or repeated high frets indicates a different risk.
Test hardware, electronics and application readiness
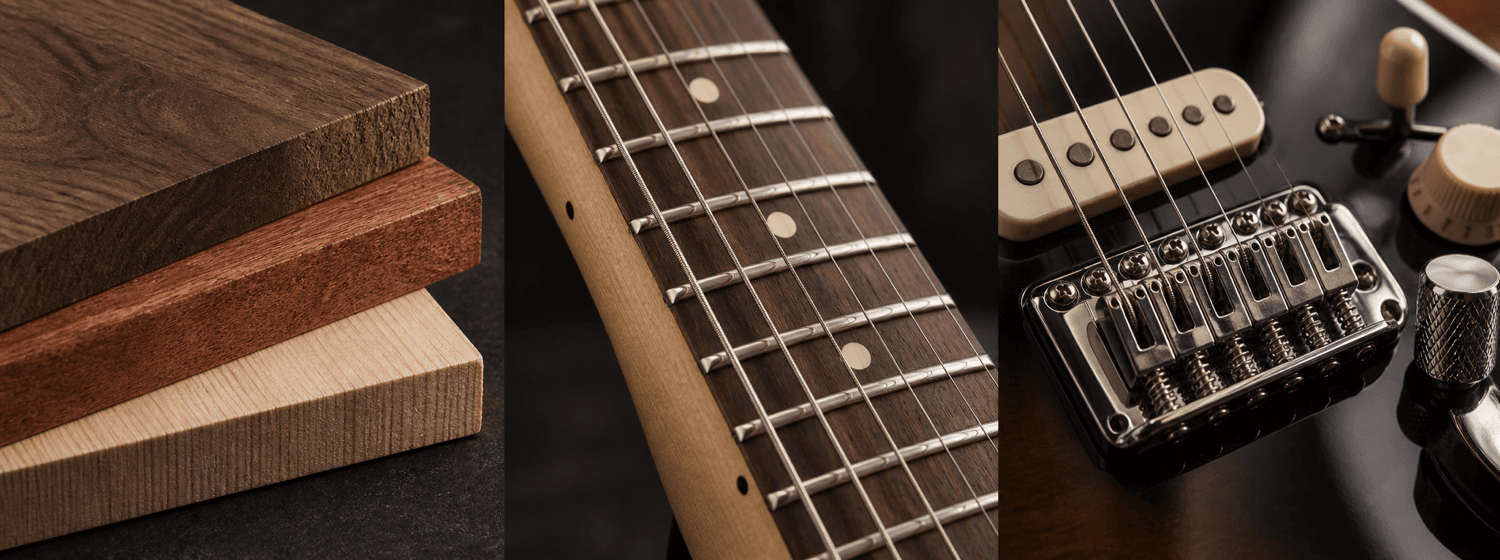
Turn each tuner through normal range and check backlash, smoothness and mounting. Operate bridge and vibrato systems without forcing them. Check strap buttons, knobs, jack, battery compartment and fasteners. For active systems, install a known battery and confirm switching behavior.
Test every pickup selection and control through a clean signal path. Listen for intermittent output while moving the cable and controls. Compare volume balance between pickup positions, but remember that pickup height affects output. Shielding noise depends on environment; record the amp, cable and electrical context before assigning cause.
For installation preparation in a store, confirm that the instrument works with the intended amplifier, DI, stand, hanger, case and display security. A product can pass basic function yet create avoidable friction if batteries, special tools or adapters are not available.
Use a repeatable play test
Use open chords, first-position fretting, barre shapes, single-note runs, bends, sustained notes and stronger attack. Play seated and standing where relevant. For bass, assess balance and reach with the intended strap. For acoustics, compare projection and articulation in the same room position. Rotate more than one reviewer when hand size or style could bias the result.
Describe observations rather than declaring universal quality. “Neck depth measured X at the first fret and reviewer A found the shoulder prominent” is more useful than “uncomfortable neck.” “Audible buzz on the third string at frets seven to nine under medium attack before adjustment” can be reproduced; “bad fretwork” cannot.
Do not publish factory testing, shipment inspection or customer experience claims unless the records support them. Internal evaluation notes can identify what still needs evidence before a public model example is created.
Use a sample record that separates fact, observation and decision
A useful record has four columns: requirement, received fact, observation and disposition. The requirement might be “HSS pickup layout with five selector positions.” The fact records the installed components and function. The observation records any imbalance or intermittent output under named test conditions. The disposition states pass, adjust, investigate or revise. Keeping these layers separate prevents a reviewer preference from becoming a product defect.
Add photographs that show the complete instrument, serial or identifier, neck alignment, bridge, nut, fret ends, controls, output jack, internal acoustic details where practical and packaging. Use a neutral background and consistent distance for repeat reviews. Photograph a ruler only when the reference point is visible; otherwise the image can imply precision it does not prove.
For measurements, record units and method in the field name. “Low E action at the 12th fret, top of fret to bottom of string, tuned to pitch” can be reproduced. “Action: 2.0” cannot. Preserve the original value, even after adjustment, and note the person, tool and date for the adjusted result.
Close the record with open questions and evidence owners. A sample can remain conditionally approved while a material certificate, switching diagram or packaging revision is pending, but the commercial and content teams must see the condition before they treat the sample as final.
Define thresholds by severity and adjustability
Not every finding has equal consequence. Create severity classes before the review. Safety, structural integrity, legal labeling and non-functional electronics normally require immediate investigation. Cosmetic findings should follow an agreed visual standard. Setup findings require a separate judgment about adjustment range, time and repeatability.
A guitar that arrives slightly outside the preferred action but adjusts cleanly, holds tuning and intonates within the available saddle range presents a different risk from a twisted neck or insufficient adjustment travel. Record technician time and any part replacement. A low-priced model that needs extensive preparation on every unit may not fulfill an access role even when each issue is technically repairable.
Use acceptance limits from the current agreement for the exact model. Manufacturer setup guides can help define measurement methods, but they are not automatically your contract. When a target has not been agreed, record the result as data and ask for clarification instead of inventing a pass/fail line after the sample arrives.
Convert sample findings into a shipment inspection plan
List the highest-consequence and most repeatable sample risks first. Identity, carton damage, cracks, neck function, fret safety, bridge security, electronics and key accessories may require different sampling frequencies. Define how cartons are selected so the inspection does not examine only the easiest units at the top of one pallet.
The sampling plan should state lot definition, number of units, checks, instruments, acceptance rule and escalation path. Some checks can be performed on every unit; others require a smaller technical sample. If the buyer lacks statistical expertise, use a qualified inspection partner rather than attaching an arbitrary percentage to the order.
Compare results with the approved sample and current specification revision, then feed recurring findings back into packaging, factory testing or setup preparation. The aim is a controlled decision trail. It is not a public claim that every unit was perfect. Publish only substantiated process details and keep commercially sensitive inspection records private.
Run a cross-functional sample review
A technician, buyer, content editor and salesperson look at the same guitar through different risks. The technician sees adjustability and repair time. The buyer sees range fit and consistency. The editor sees claims that require evidence. The salesperson sees questions customers will ask. A short review involving these roles can expose a problem that one scorecard misses.
Begin with silent inspection so the first opinion does not anchor everyone else. Each reviewer records facts and observations before discussion. Compare notes, reproduce disputed findings and decide whether a difference comes from the product, setup, environment or reviewer preference. When hand size or playing style matters, keep that context with the observation.
Ask the content editor to draft the product's one-sentence difference using only verified information. Ask the salesperson to demonstrate that difference. Ask the technician whether the received setup allows a fair demonstration and what preparation each unit may need. Ask the buyer which existing model the sample competes with. If these answers conflict, the sample is not ready for uncomplicated approval.
Supplier follow-up should contain photographs, measurements, unit identity and a precise request. “Please improve quality” gives no reproducible target. “Please investigate high E string binding at the nut on sample X, recorded before adjustment with the specified string set” is actionable. Keep translation simple and confirm any revised acceptance method in writing.
After correction, retest only after recording what changed, then repeat the connected checks. A nut adjustment can affect first-position feel and intonation; neck or bridge work can affect action. Approval should reflect the complete instrument after the documented correction, not assume the rest of the result remains unchanged.
Approve with conditions and define shipment follow-up
Finish with one of four states: approved as reference, approved after documented correction, revision required, or not approved. List every open question, responsible person and due date. Attach photographs and raw measurements, not only a summary score.
Translate the review into a shipment inspection plan. Prioritize safety, identity, structural condition, neck function, electronics and recurring sample concerns. Define sampling separately from the sample review. One carefully prepared instrument cannot show variation across cartons, production dates or climate exposure.
When the first shipment arrives, compare a selection of units to the approved reference and specification version. Track the frequency and severity of findings, adjustment time and packaging damage. Those records provide the experience needed to update future buying decisions without inventing certainty from a single sample.
Conclusion: make the sample review reproducible
A sample evaluation should show what arrived, how it was checked, what changed during preparation and which evidence supports approval. Work in a fixed sequence, name every measurement method, separate design choices from setup and defects, and record both received and adjusted condition. One attractive instrument is a reference, not proof of shipment consistency.
Use cross-functional review when the decision affects technical service, buying, content and sales. Translate findings into precise supplier questions and a shipment inspection plan. Where factory testing is referenced, retain the actual test, sampling and acceptance information rather than presenting a generic quality claim.
The strongest outcome is not a perfect score. It is a traceable decision with known limits, named follow-up and content that says only what the evidence supports. That record makes the next sample faster to compare and gives the first shipment a clear, defensible inspection baseline.
Frequently asked questions
Questions buyers commonly ask
What should a guitar buyer check first on a sample?
Confirm the model and specification, then document carton and arrival condition before tuning, cleaning or adjustment. This preserves evidence and prevents a transit issue from being confused with design or assembly.
Is factory setup the same as retail-ready setup?
Not always. Climate, shipment, string age and player preference can change the result. Define received-condition limits and the store’s final setup process separately.
Should action be measured at the 12th or 17th fret?
Use the location specified by the model’s documented method and record it. Different manufacturers use different reference frets, so values cannot be compared unless the method is normalized.
Can one approved sample guarantee shipment quality?
No. It establishes design intent and an inspection reference. Shipment consistency requires a sampling plan and records from actual production units.
How should subjective playability be recorded?
Pair the observation with measurable context and reviewer conditions. Record neck dimensions, setup, strings and the exact task that felt easy or difficult rather than labeling the guitar universally comfortable or uncomfortable.
How this guide was prepared
This guide organizes model-selection questions into a repeatable retail decision framework. Manufacturer references support definitions and measurement context. They are not treated as universal acceptance limits. Guitar specifications, setup tolerances and audible results remain model-specific and should be verified against the current supplier specification sheet and a physical sample.