The decision in brief
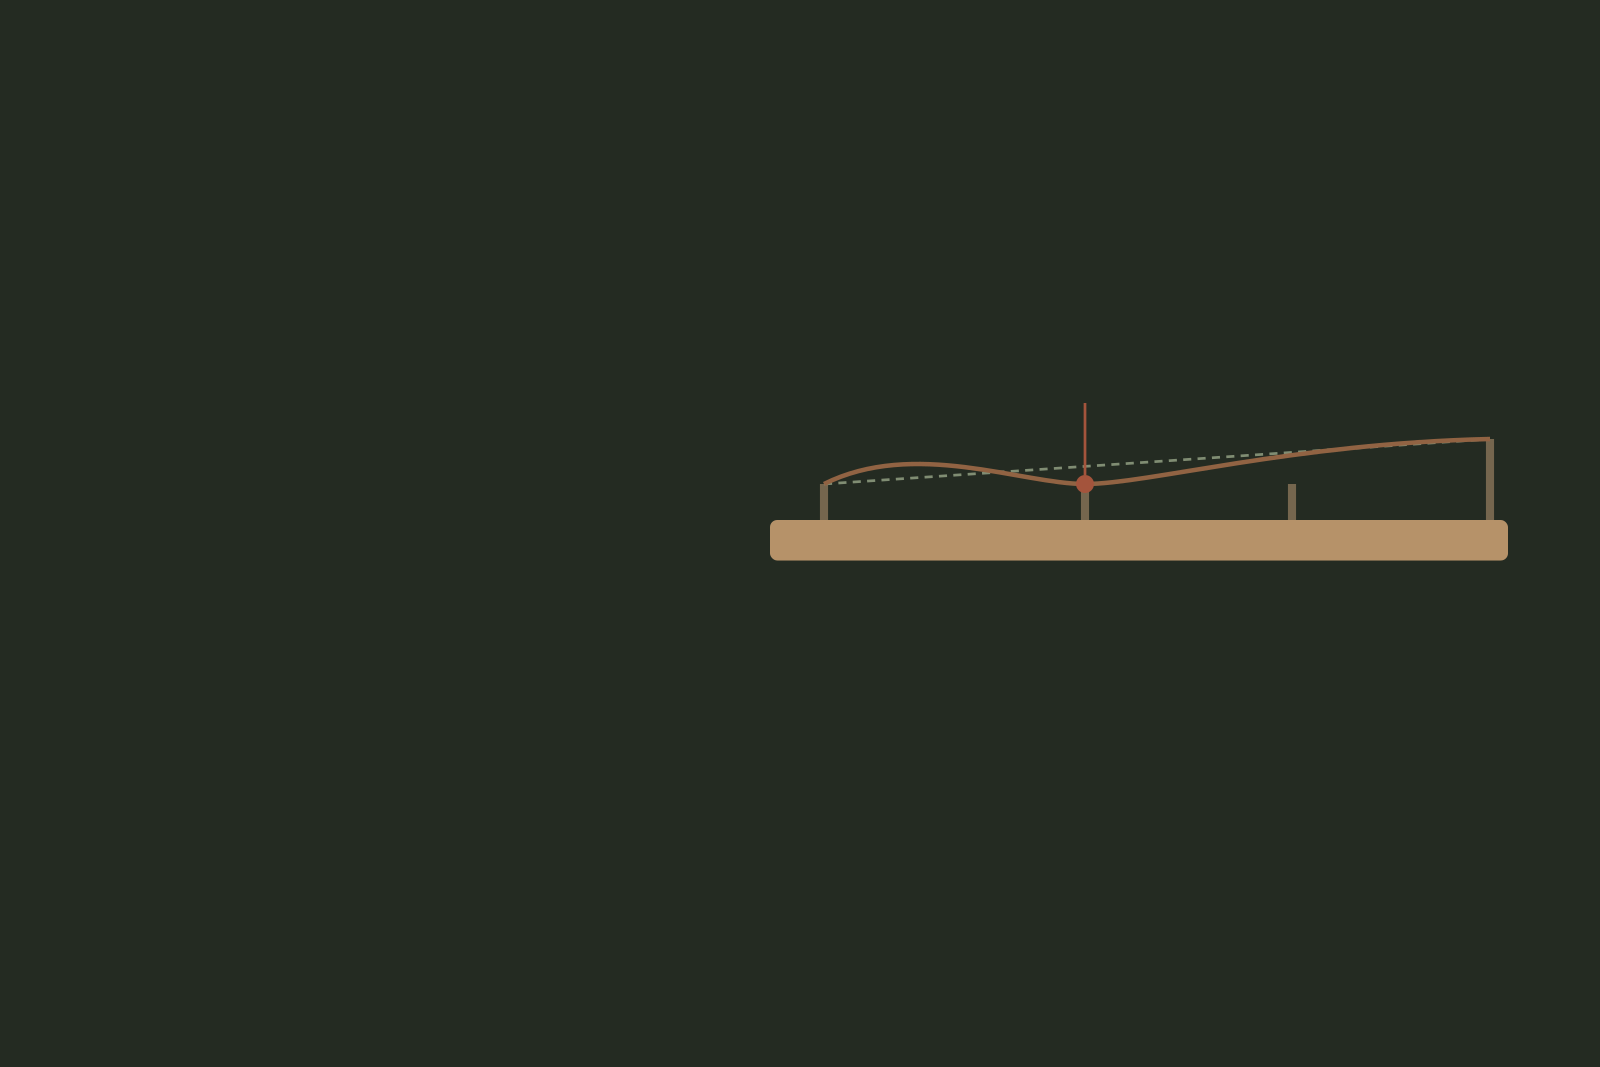
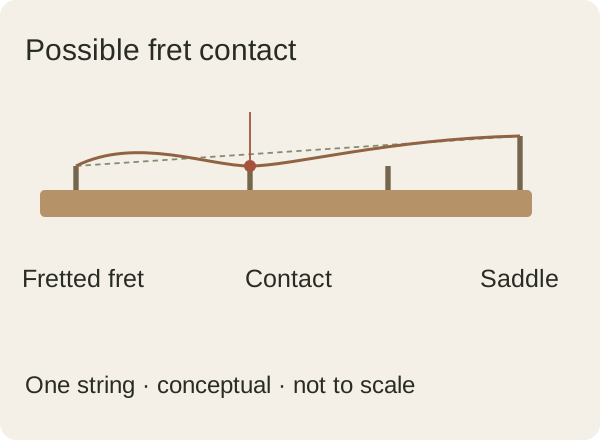
Fret buzz is mechanical contact between a vibrating string and an unintended fret along its sounding segment. First record whether it happens on an open string, one note, a region or most of the neck, and whether it affects the sound through your usual signal path. Check finger placement, attack and string condition before changing the setup. A symptom pattern suggests the next inspection; it does not identify a repair by itself.
Identify the sound before adjusting anything
Fret contact can add a rattle, shorten a note or interfere with a bend. A loose screw or sympathetic hardware vibration can also rattle; electrical hum is a different problem. Describe the location and the audible effect instead of calling every unwanted noise fret buzz.
Fender identifies finger placement, uneven frets, nut clearance and neck relief as possible contributors. They are possibilities to inspect, not a remote diagnosis. Slight acoustic string noise may be acceptable for a particular attack if the intended amplified note remains useful; a choked or unreliable note needs further investigation.
Sources: Fender: playing technique, uneven frets and open-string nut clearance; Fender Support: model-specific setup methods and factory-string conditions
Repeat the symptom under known conditions
- Tune the guitar to the intended pitch and note its strings and recent changes.
- Use your usual posture and a clean monitoring path where applicable. Record whether the noise is acoustic, amplified or both.
- Try the open string, then notes in the affected area with light and normal attack. Do not force a harder attack merely to produce a failure.
- Place the fretting finger just behind the fret, clear of neighbouring strings. Repeat the same note without changing hardware.
- Check a suitable bend and listen for loss of the note, then write down the result.
The steps are a suggested observation method. We have not performed this test on your guitar or established an acceptable noise level for it. If the guitar changes condition during the check, stop and record that rather than combining unlike observations.
Let the pattern choose the next inspection
| Observed pattern | Possible areas to inspect | What it does not prove |
|---|---|---|
| Open string; fretted notes clearer | String seating, nut clearance, first-fret area or loose parts | That the nut needs filing |
| One or a few notes | Local fret condition, string damage or clearance | That the whole neck needs more relief |
| Several notes in a region | Relief, action, fret consistency and attack | A particular truss-rod direction or amount |
| Bend loses the note | Clearance along the bend, fret condition and setup | That fingerboard radius alone caused it |
| Noise mainly through the electronics | Signal path, interference or hardware as appropriate | That every electrical noise comes from the frets |
These are inspection prompts, not exclusive causes. More than one issue can coexist. A location map is useful even when a technician must examine the instrument to find the cause.
Sources: Fender: playing technique, uneven frets and open-string nut clearance
Measure relief and action separately
Relief is the small longitudinal curve of the neck. Action is string clearance at a stated fret. Nut clearance is especially relevant to open and low-position notes; local fret condition can matter at a particular note. Raising the strings may conceal a local problem without resolving it.
Fender’s relief example holds a string at specified positions and measures to the fret crown. Its model/radius targets and factory-gauge setup conditions are not universal values. Record the maker’s current method, held frets, measurement fret, string, tuning and strings before comparing a reading. See the action guide for the separate height measurement.
Changing gauge or tuning can alter the setup. If a problem started after such a change, preserve that history; it is a clue, not proof of a single cause. Check installed-string compatibility and seating before adjusting the neck.
Sources: Fender: neck-relief measurement; its dimensions apply to named Fender layouts; Fender Support: model-specific setup methods and factory-string conditions
Choose a reversible next step or get help
Begin with tuning, finger placement, normal attack and a visual check of the strings and visible hardware. Follow the exact model’s setup instructions if a measured adjustment is needed, retuning and rechecking the affected notes. Do not make several changes together.
An adjustable rod is not fitted to every guitar and is not a cure for every isolated buzz. Nut cutting, fret levelling and structural work need appropriate tools and skills. Seek a technician when the cause is uncertain, a part is damaged, the bridge is lifting, the neck appears distorted or an adjustment meets unexpected resistance. Do not use force to finish a guessed repair.
Sources: Fender: neck-relief measurement; its dimensions apply to named Fender layouts
Keep a useful symptom record
| Record | Example of what to write, not a test result |
|---|---|
| Instrument and strings | Exact model; installed set; tuning; date and recent changes |
| Location | String number; open or fretted; first affected note and neighbouring notes |
| Playing and sound | Posture; normal attack; bend; acoustic or monitored path |
| Measurements, if taken | Maker’s method; tool resolution; references; received readings |
| Next check | One change, its reason and repeated observation; unresolved questions |
When trying a used or new guitar, ask which setup it has and repeat the passage you intend to play. A setup service may resolve some issues, but neither a new instrument nor raised action proves that the frets are healthy. Use the inspection checklist to cover the rest of the instrument.
Use the symptom to ask a better question
Locate the contact, reproduce it with ordinary playing and separate observation from diagnosis. Keep string condition, technique, relief, action, nut and frets in the investigation. A dated record helps a technician choose the appropriate inspection; it does not replace examining the guitar.
Frequently asked questions
Does fret buzz always mean the action is too low?
No. Technique, strings, nut clearance, relief, fret condition and loose hardware may need inspection. Action is one variable and must be measured at a stated fret.
Why might an open string buzz while fretted notes are clear?
The pattern makes string seating, nut clearance and the first-fret area worth inspecting. It does not by itself prove a low nut slot or justify cutting the nut.
Should I adjust the truss rod for one buzzing note?
Not from that symptom alone. An isolated note can involve a local fret or string issue. Check the model’s relief method and other clearances, or ask a technician.
Is every unplugged rattle a fault?
Judge the intended passage through the normal monitoring path and check whether notes sustain or choke. Some acoustic string noise can be acceptable for a particular attack, but damaged parts and unreliable notes still need attention.
How this guide was prepared
We checked Fender’s account of common fret-buzz contributors, its relief-measurement example and its factory-string setup qualifications. The symptom map and record are editorial prompts for repeatable observation, not a diagnostic test validated on guitars. No instrument was measured, adjusted or repaired, and no universal noise or clearance threshold was established. The diagrams show a possible contact mechanism only; real geometry and the appropriate repair need the actual instrument and its maker’s method.
Documentation checked .
Distinguished fret contact from other noises, added a bounded symptom map and observation record, qualified maker-specific measurements, replaced misleading graphics and documented the limits of the advice.