
The decision in brief
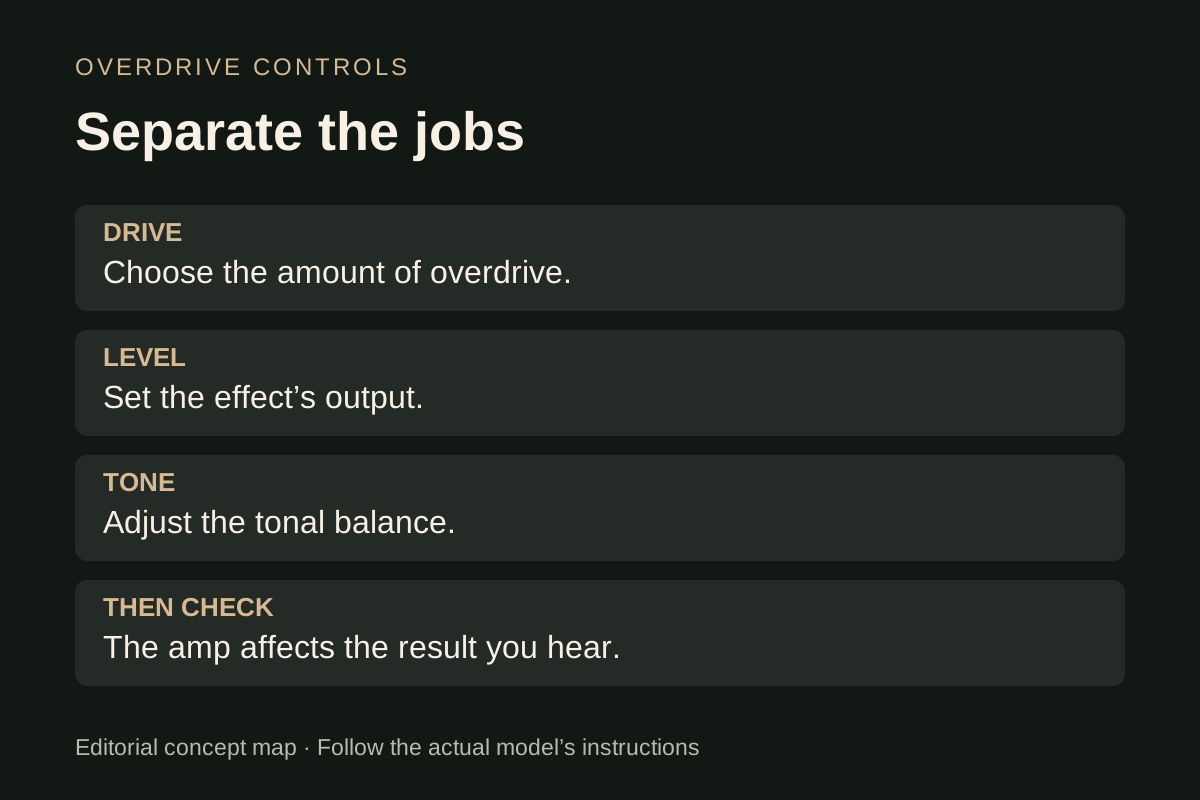
Set an overdrive by separating the job of each control: Drive changes the amount of overdrive, Level sets the effect’s output, and Tone shapes its tonal balance on a typical three-control pedal. Start with a modest listening level and compare bypass with the effect engaged. Whether more output produces more loudness, more distortion or both depends on the stages after the pedal.
Decide what you want the pedal to do
Choose a specific task before turning knobs: add some breakup to a cleaner sound, change an existing driven sound, or make a particular part easier to hear. Those goals can require different settings. Save the amp’s starting settings so you can return to a useful reference.
A pedal’s label does not tell you which stage will supply most of the distortion. Your amp input, another drive pedal or a modelled amp may already be compressing or clipping. Think about the whole path described in the guitar amp guide, including the output you actually listen through.
Separate Drive, Level and Tone
| Control | SD-1 manual’s role | Question to ask while adjusting |
|---|---|---|
| Drive | Amount of overdrive; clockwise increases the effect | Is the attack and note separation still useful for this part? |
| Level | Level of the effect sound | Does the engaged sound sit where I need it against bypass? |
| Tone | Tonal adjustment; clockwise emphasizes treble, counterclockwise cuts it | Is the balance comfortable through this amp and speaker? |
These descriptions use the SD-1 as a documented example. Other pedals add controls or implement them differently. A knob’s centre position does not establish neutral EQ or equal loudness. Use bypass as a reference and adjust the controls while repeating your phrase; check the manual for the specific control behaviour.
Adjusting Drive can also change your impression of loudness. Return to Level after changing Drive so a much louder pass does not automatically win the comparison.
Build a useful starting setting in small steps
- Establish the reference. Connect and power the pedal according to its manual. Use a comfortable amp setting and a repeated phrase that contains both a single-note line and a chord you actually play.
- Add the effect carefully. Begin with conservative output and drive settings appropriate to the pedal. Engage it and raise the output gradually so you can hear a useful comparison.
- Choose the breakup. Change Drive in small steps. Listen to the start and end of notes and to whether the chord still separates clearly enough for your purpose.
- Revisit Level. Compare bypass and engaged sounds using similar picking. For a texture comparison, aim for a similar perceived listening level. For a deliberate boost, assess the intended change at a controlled level.
- Refine Tone. Make a small tonal change, repeat the phrase and check the result with the part you need to play. Then recheck the balance against bypass.
This sequence is a suggested practice method. It does not prescribe noon settings, a specific genre or a measured loudness match. The SD-1 manual itself instructs the player to compare the effect and bypass levels while setting Level.
Why more Level may mean more drive instead of more loudness
Consider two situations. With room for a higher signal in the stages after the pedal, increasing its output may give a useful rise in listening level. When a following stage is already strongly driven, the extra input may produce more distortion or compression with little useful level increase. The actual result depends on the devices and settings.
BOSS discusses using low Drive and higher Level to push an amp. Treat that as an approach to try, not a promise of a transparent boost: the pedal may still alter the sound. Keep your final listening level controlled as you compare.
For a solo that needs more prominence, test the actual part against the accompaniment at an appropriate level. Added distortion alone may not deliver the change you need. Check the amp’s documented channel, master and routing options before changing connections; effects-loop compatibility and signal level are model-specific.
Record the rig as well as the knob positions
| Record | Why it matters |
|---|---|
| Guitar pickup and guitar controls | A different incoming signal can change the result |
| Pedal model, Drive, Level and Tone | A photograph or clock-position note lets you return to the setting |
| Amp channel, gain, EQ and listening output | A setting is meaningful in the chain where you used it |
| Repeated phrase and accompaniment | Judge clarity and prominence in the actual musical task |
| Observed change and preference | Describe your result without turning it into a universal claim |
Try a second pass with a cleaner amp setting if that is a realistic option for your rig. Keep the listening level comfortable and note every changed setting. That comparison explores how the pedal and amp interact; it does not isolate the pedal as if the amp were unchanged.
If you move the pedal relative to another effect, use the pedal-order guide and change one connection at a time. A shared knob position across different models is not a controlled gain comparison.
Use the symptom to choose the next adjustment
If the engaged sound disappears or becomes very quiet, check Level, bypass state, power and the documented signal connections. If it is too distorted for the part, reduce Drive and compare again; if the amp remains strongly driven, reassess its gain setting as well.
If chords blur together, try less drive before compensating with more output or extreme EQ. If a tone setting is uncomfortable, make a small change and repeat the same phrase. Keep track of what improved the result rather than chasing a famous player’s knob positions.
If a wah is part of the sound, establish the drive first, then use the wah practice routine to compare a repeatable foot movement. Unexplained faults require the model’s troubleshooting instructions or appropriate service; the settings exercise is not a repair procedure.
Frequently asked questions
Is low Drive and high Level always a clean boost?
No. That setting can push a following stage harder, and the pedal itself may still colour or distort the signal. Check the result with your actual amp channel and listening level.
Why does turning up Level add distortion but little extra volume?
A following stage may already be strongly driven and have little room for a useful level rise. Check the gain and routing of the complete rig; a higher pedal output is not the same as a guaranteed increase at the speaker.
How this guide was prepared
We checked the BOSS SD-1 owner’s manual for its control functions and operating sequence, and compared those instructions with BOSS’s overdrive overview. The settings procedure and log are editorial suggestions, not an SD-1 review or measured headroom test. We did not audition pedals or establish universal settings. Other models may have different controls and gain behaviour.
Documentation checked .