The decision in brief
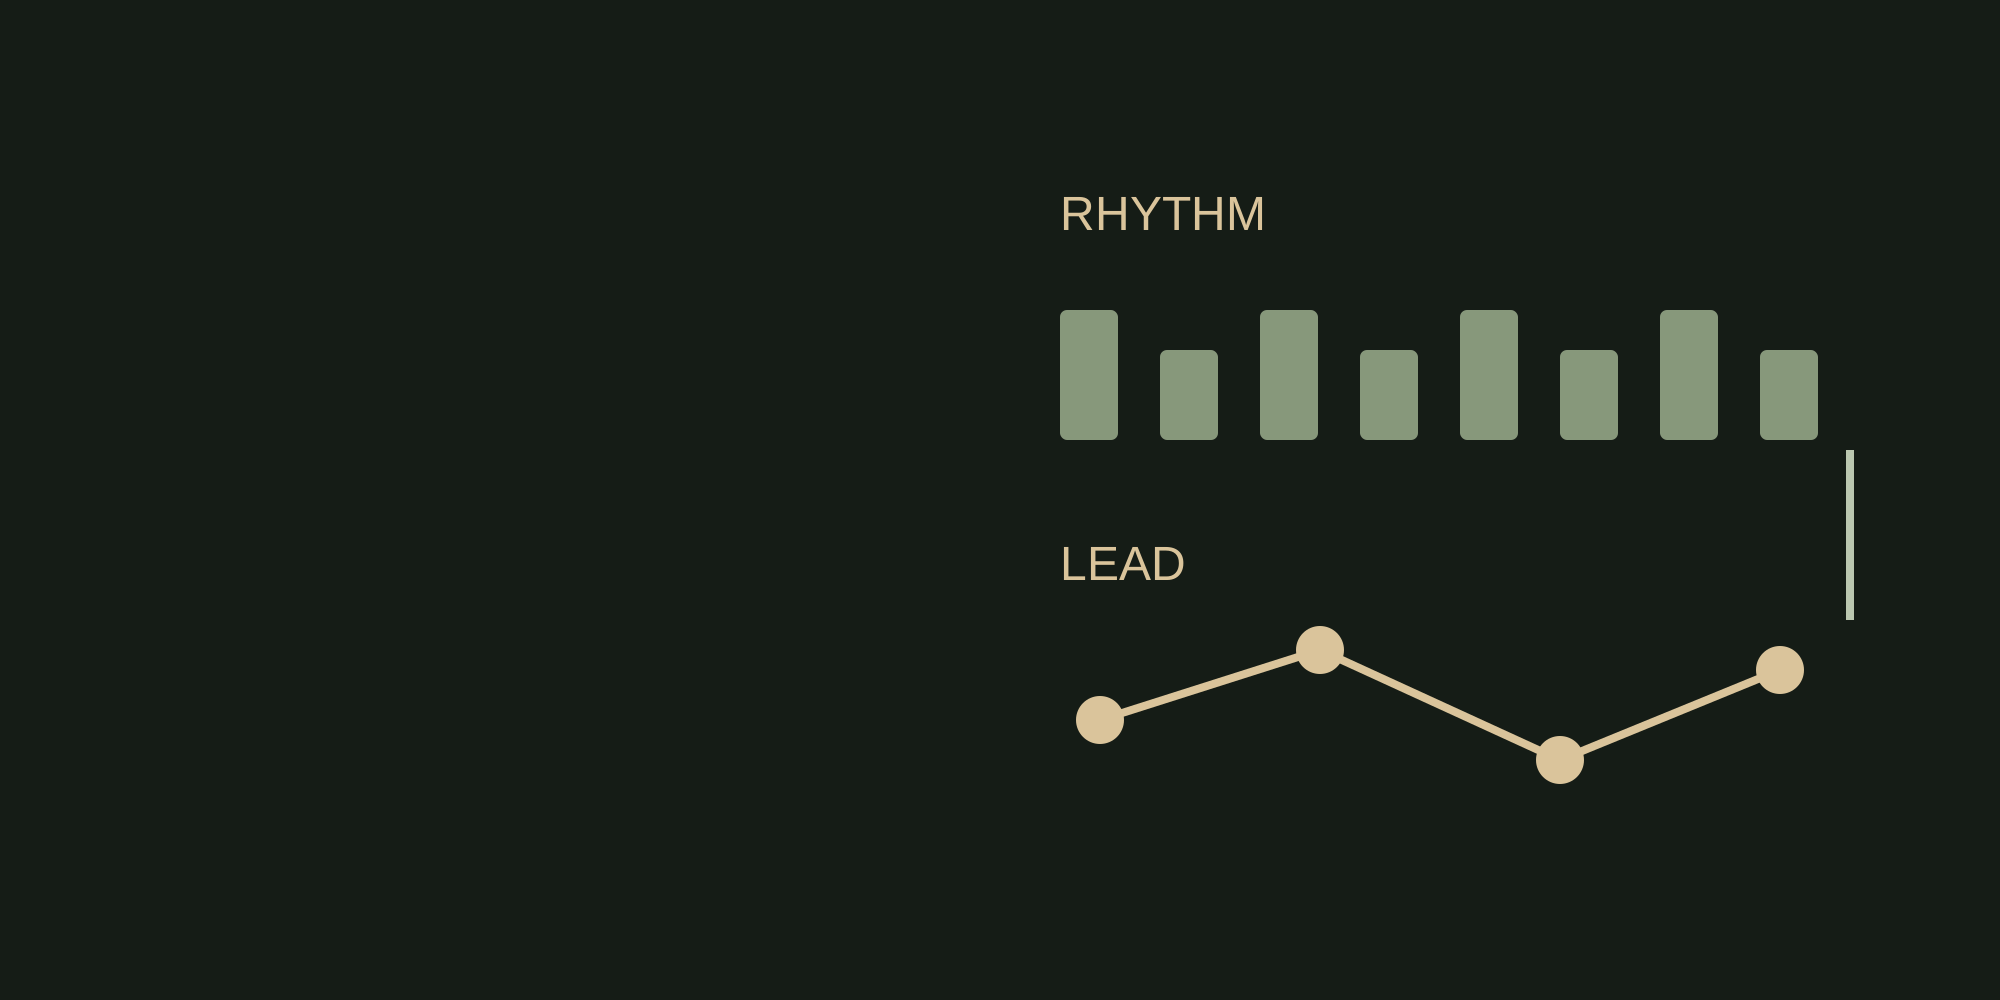
Rhythm guitar usually supports the pulse and harmony; lead guitar brings a melody, fill or solo forward. These are musical roles that can overlap or change within a song. Both need accurate timing, listening and controlled note endings. Start with a simple accompaniment and a short melody, then practise moving between them without losing your place.
What matters most
- Identify the guitar’s role by what it contributes in that section.
- Practise the transition between accompaniment and melody.
- Use a specific timing or note-ending observation to choose the next task.
Identify the job in the arrangement
Listen to a short section and ask what the guitar is doing there. Is it sustaining the accompaniment, presenting the tune or answering another part? Fender’s overview describes the roles and notes that one guitarist can handle both.
| Listen for | Rhythm role | Lead role |
|---|---|---|
| Main contribution | Supports the groove and chord movement | Brings a melodic idea or featured passage forward |
| Possible material | Chords, picked chord notes or a repeated figure | A melody, fill, riff or solo |
| Shared demands | Time, dynamics, muting and listening | Time, dynamics, muting and listening |
| Useful question | Does the part support what else is playing? | Does the phrase enter, develop and finish clearly? |
The table is a listening aid, not a rule assigning every riff to lead or every chord to rhythm. A repeating single-note figure can support the groove; a chordal passage can take the foreground. Describe its function in that section.
Sources: Fender: lead and rhythm roles, overlap and learning difficulty
Try an original four-bar handover
This proposed exercise uses standard tuning and an E-minor chord you already know. Count four steady beats in every bar. Choose a pace that leaves time for the movements; no target speed is required. If you do not yet know the chord, have a teacher demonstrate it first.
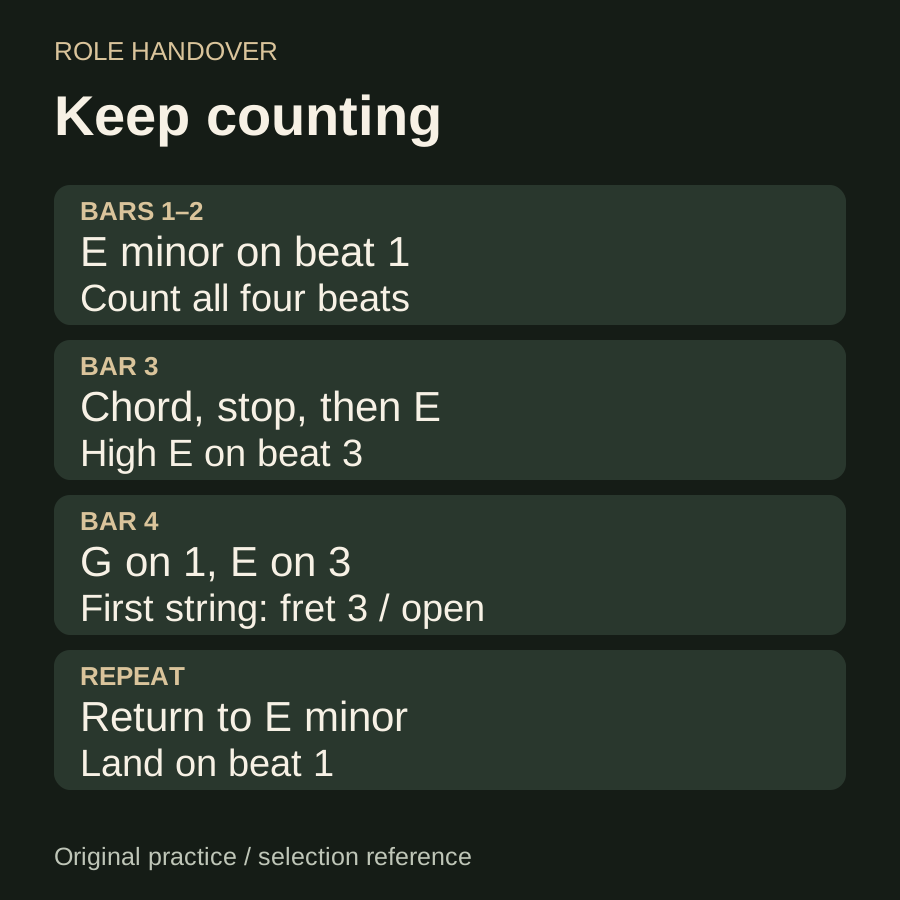
- In bars 1 and 2, strum E minor once on beat 1 and let it ring while you count all four beats.
- In bar 3, strum E minor on beat 1. Stop the chord before beat 3 while continuing to count. On beat 3, play the open first string (the thinnest, high E) as a separate note. Let it end before the next note.
- In bar 4, play the first string at fret 3, G, on beat 1, then the open first string on beat 3. Keep counting through beat 4.
- Return to the chord on beat 1 of the next cycle. Repeat without inserting an extra pause.
The example separates a chordal opening from a short melodic ending so you can hear the handover. It is not a finished song arrangement. The E and G notes follow from standard tuning and fret positions; this is not a transcription of a commercial recording.
Check the standard tuning reference before using those positions. If you use a looper, record a separate accompaniment and confirm its bar length first; a loop with a faulty boundary is an unreliable timing reference.
Listen for a steady handover
Listen back to your own recording or ask a playing partner to listen. Keep the evaluation narrow: could you hear the count continue through the switch, and did the chord return at the intended moment? A recording is a reference for this practice session, not a measured proficiency score.
| Observation | Next practice choice |
|---|---|
| The return to the chord is late | Leave a larger gap before the return or simplify the melody |
| The fill obscures the accompaniment | Try fewer notes and listen to their endings |
| The pulse disappears during the melody | Count aloud and use a shorter phrase |
| Both parts work separately but the transition fails | Repeat only the final bar and the chord return |
These are practice suggestions, not diagnoses. The timing lesson linked here provides a separate reference for time and feel. Use teaching help when the movement or count remains unclear.
Use the guitar you have before buying for a role
Try the accompaniment and melody on the same playable guitar. Change the part first, then decide whether a control change would help the actual arrangement. A pickup position or a bridge label does not assign you a permanent band role.
For an amplified part, keep the initial rig simple and at a suitable listening level. Test how clearly each part can be heard alongside the accompaniment. If you change a pickup, gain setting or playback level, note the change rather than attributing everything to the playing role.
The electric-guitar buying guide covers fit and required sounds. The pickup-position comparison addresses the separate sound choice. Neither is a reason to replace a usable instrument before learning the part.
How this guide was prepared
We checked Fender’s explanation of lead/rhythm roles and the GuitarLessons rhythm curriculum and timing lesson. The listening prompts and four-bar E-minor exercise are original editorial teaching suggestions, not a study or a practice test we conducted. The example assumes a conventional six-string guitar in standard tuning. No particular learning time, skill ranking or human expert review is claimed.
Documentation checked .