The decision in brief
Choose an electric guitar that meets your essential playing needs in a usable signal chain. Check body and neck comfort first, then the pickup sounds you will use, bridge operation and current setup. Keep amplifier input settings fixed to compare drive; use similar listening or recorded playback volume to judge preference. Include amplification or an appropriate headphone/interface route, a cable, protection and any needed setup in the total cost. A longer feature list cannot resolve an uncomfortable neck or a missing required sound.
What matters most
- Separate fixed specifications, personal playing observations and questions still to verify.
- Try the bridge and switching you will actually use; more modes and expensive tuners do not guarantee a better fit.
- A shop screen can identify concerns, but it cannot prove fret, truss-rod or structural condition.
Start with the sound system and playing situation
Write down where you will play and what must be heard: quiet headphone practice, a rehearsal, recording or a stage part. An electric needs a suitable amplifier or interface/monitoring route for its intended amplified sound. Confirm the device’s instrument input, headphone or speaker output and required power supply; do not assume a guitar cable or passive headphones alone provide the complete route.
List required sounds, tuning and techniques. For example, clean neck chords and driven bridge rhythm are clearer requirements than “a versatile guitar.” Include whether you need pitch movement from a vibrato bridge and how often you change tunings. Budget for cable, tuner, strap, case or bag and possible setup alongside the sound system. If you are still choosing acoustic versus electric, use the first-guitar guide; this page compares electric candidates.
Compare body fit, neck geometry and scale before appearance
Hold each guitar seated and, if relevant, standing at your usual strap height. Check arm reach, body edges, balance and access to controls. Weight is only one part of comfort: notice whether you continually support the neck or shift your wrist to reach the first positions. Use normal passages rather than a pose copied from a product photograph.
Fender defines neck profile as the back contour, separate from width, depth and fingerboard radius. A C, V or U name does not specify every dimension or identify one shape as best. Try chord changes, stretches, bends and higher positions that belong to your playing. Note the sample’s strings and setup.
Nominal scale influences fret spacing. D’Addario’s tension explanation uses speaking length, pitch and string mass per unit length; more length requires more ideal tension when the same string and pitch are held constant. This does not measure perceived stiffness or guarantee comfort. Compare complete instruments and use the scale-length guide if that measurement drives your decision.
Sources: Fender: neck profile versus width, depth and radius; D’Addario: string length, pitch and unit weight
Choose a pickup system by range, noise and control needs
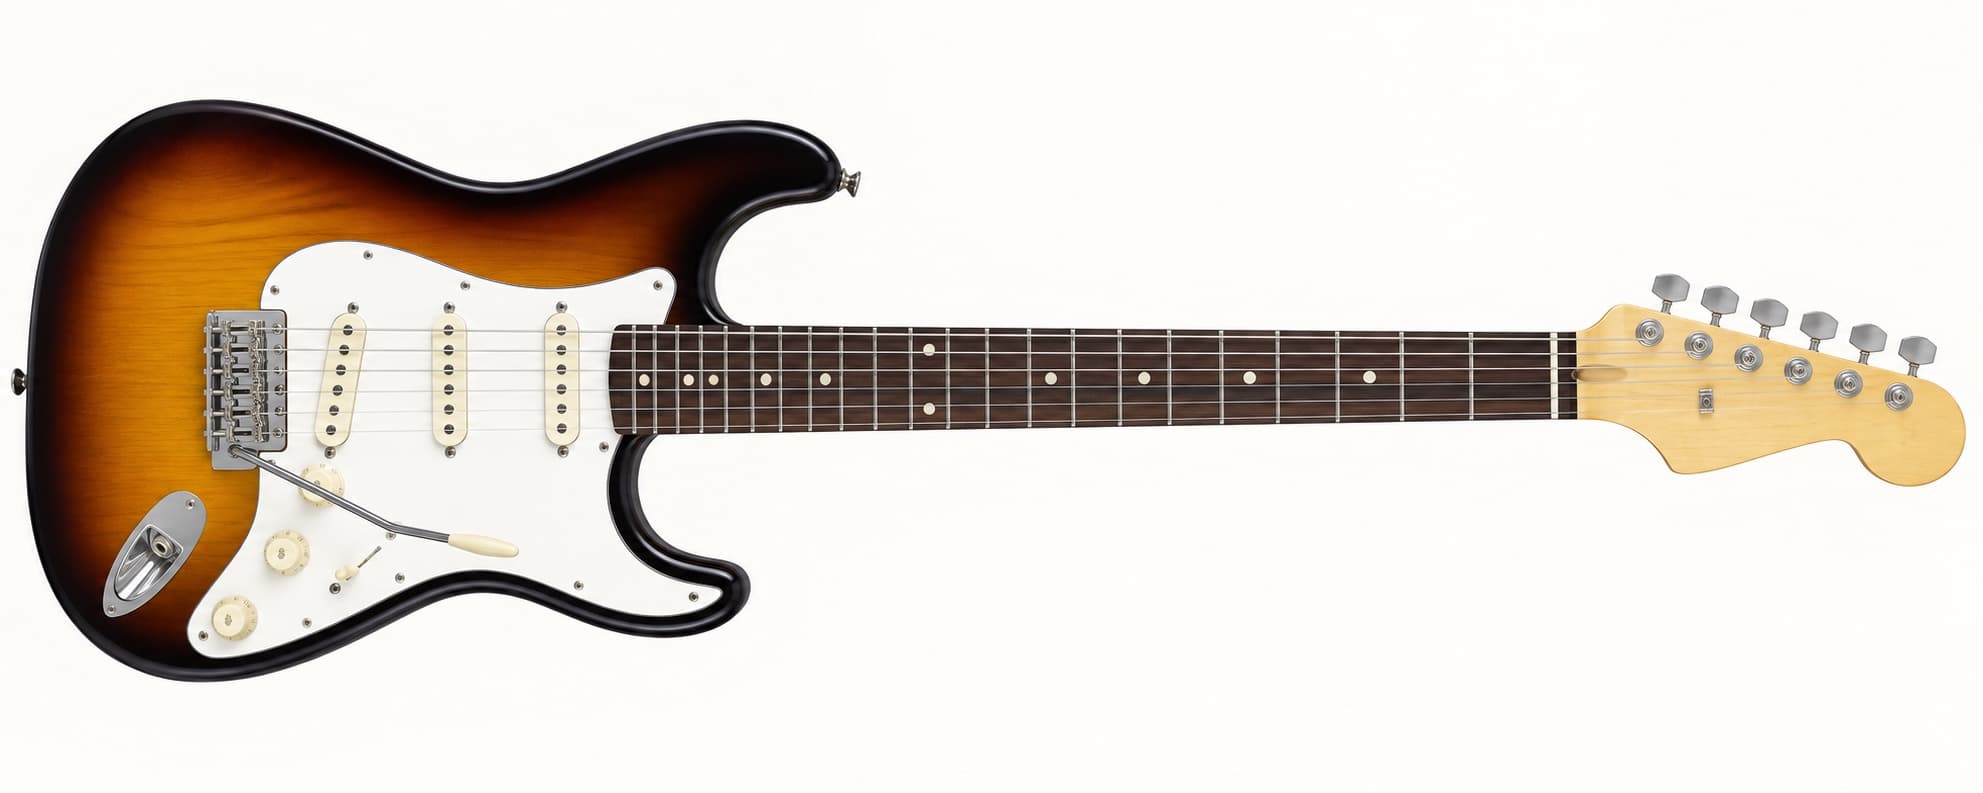
A conventional single-coil uses one sensing coil; a humbucker connects two coils to oppose common interference while retaining the string signal. That reduces a particular hum source, not all noise in the rig. Output, response and split modes depend on the model and circuit. Our pickup-family comparison explains those limits.
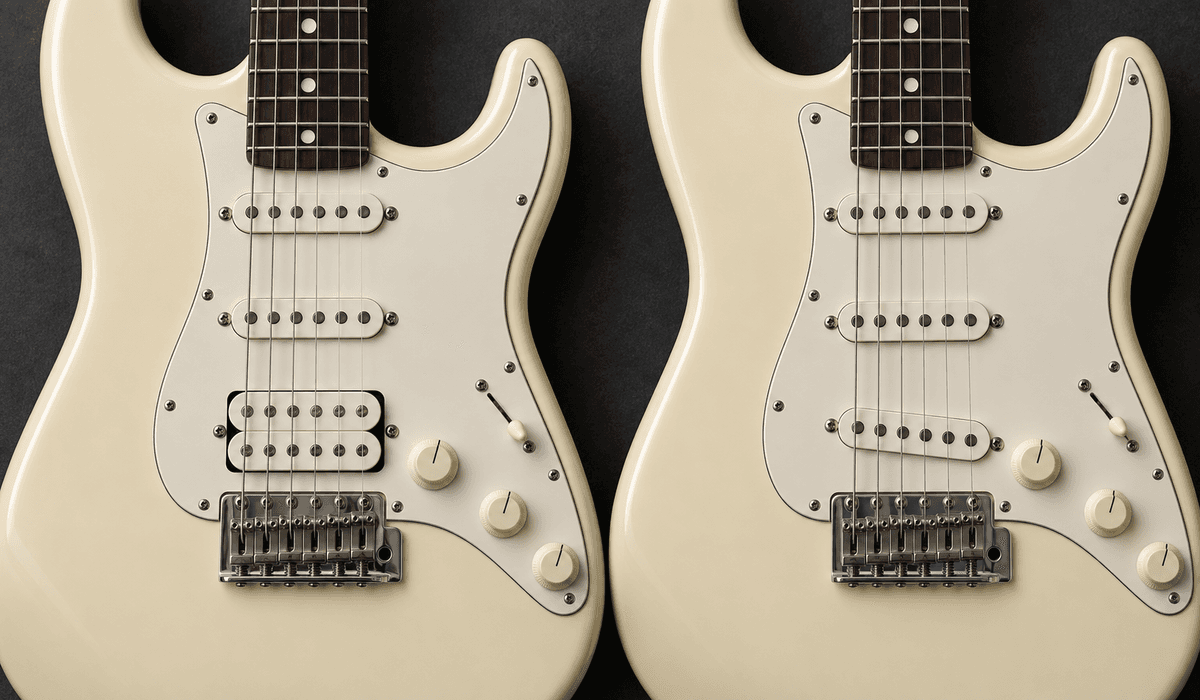
Fender reads SSS, HSS and HH from bridge to neck. HSS gives a bridge humbucker with middle and neck single-coils; the letters do not promise coil splitting. Check every position and control, usable output transitions and noise in your room. If powered electronics are fitted, verify power type, access and operating instructions; avoid inferring them from the cover.
Start clean with fixed amplifier settings, then use the intended gain. For tonal preference, use similar listening volume or adjust recorded playback. Changing the guitar volume before a distorted amplifier also changes drive, so record it as a separate condition. Pickup height can affect balance; a poor sample adjustment does not define the whole family.
Sources: Seymour Duncan: humbucker coil connections; Fender: bridge-to-neck pickup layout codes; Fender Support: factory gauge and setup conditions
Match the bridge to the expression and maintenance the player accepts
Decide whether you actually use vibrato-arm pitch movement. A fixed bridge removes the floating string/spring balance from the tuning task, though it still needs nut, saddle and string checks. A floating vibrato has additional interactions. Floyd Rose documents that changing one string’s tension can move the others’ pitches and that changes of gauge or tuning can require spring-balance adjustment. That is an example for its system, not a claim that every vibrato operates identically.
Ask whether the exact bridge is floating, decked, blocked or otherwise configured. Test gentle use, bends and return to pitch with the current tuning. If frequent retuning is essential, confirm the procedure and equipment you would accept. Inspect saddle clearance, jack security, sharp edges and control access. Locking tuners alone cannot prove that nut, strings and bridge return reliably; investigate a symptom with the actual setup.
Inspect setup and function before judging the model
A setup coordinates relief, nut function, action, intonation, bridge and pickup height within adjustment limits. Fender’s references depend on factory gauges and player application; they are not universal pass/fail values. Record current strings and tuning before comparing setup. Ask what adjustment is included and what a technician must diagnose separately.
Play each string open and across the neck with light and normal attack; note dead notes, rough fret ends or choking bends. For an intonation screen, tune the open string, then compare its octave harmonic with the gently fretted 12th-fret note using a tuner. Floyd Rose describes that comparison; follow the exact bridge’s instructions for any adjustment. String condition and fretting force can affect the reading.
Operate every selector and control, and check the output with a known-working cable. A brief trial or looking along the neck cannot prove truss-rod operation, internal condition or repair quality. Structural damage, uncertain adjustments or persistent faults justify a technician’s inspection. Do not force an unfamiliar adjustment during a shop trial.
Sources: Fender: setup components and environmental changes; Fender Support: factory gauge and setup conditions; Floyd Rose: octave harmonic and fretted intonation check
Use a repeatable electric-guitar comparison
- Choose a short list that meets essential use, budget and physical-fit requirements.
- Record exact model, strings, tuning, setup and amplifier/interface conditions.
- Check seated and standing fit, reach and control access.
- Play the same passages in the positions you need, clean and at your normal gain.
- Keep input settings fixed for drive, then compare at similar playback volume for preference.
- Check gentle bends, the bridge’s intended operation, tuning, controls and fret response.
- Write a useful advantage, an accepted compromise and a question still to verify.
This is an editorial comparison routine, not a timed test or a reported measurement. If the strings, pickups, scale and bridge differ, the observations describe whole guitars. Use a break and a repeat pass if the initial preference mainly follows loudness or appearance.
For a first or used electric guitar, prioritize a clear path to playing
A first electric should give a clear route to practice: comfortable reach, usable strings and setup, functioning controls and appropriate monitoring. No beginner rule requires one scale, pickup family or fixed bridge. If you want vibrato techniques, try a well-prepared example and decide whether its upkeep is acceptable.
For a used guitar, ask about modifications, repairs, fret wear and available adjustment. Request inspection when you cannot assess those points. Cosmetic wear and structural concerns are different questions; a seller’s “plays great” statement does not resolve either. Keep room in the total cost for identified service, strings and missing equipment. The general buying guide covers the wider purchase process.
Turn specifications into a short decision matrix
| Essential use | Verified specification | Your trial observation | Open question |
|---|---|---|---|
| Night practice | Compatible input and monitoring device | Useful sound, manageable noise and comfortable seating | Power supply and cables included? |
| Clean and driven parts | Pickups, selector and documented modes | Needed sounds and usable transitions | Does the intended rig change the result? |
| Frequent retuning | Bridge configuration, strings and tuning plan | Practical retuning and return behaviour | What setup work is required? |
| Bends and upper-register work | Scale, radius and access geometry | Comfort and notes that remain usable | Does a concern require adjustment or repair? |
Fill these fields rather than inventing a numerical quality score. A model’s stated scale is a specification. “Comfortable for me at this strap height” is an observation. “The target tuning has not been tried” remains an open question.
In a hypothetical decision, a player often changes tuning and never uses an arm. A fixed-bridge candidate is worth comparing for that routine. If the same player begins using arm techniques, the requirement changes and a suitable vibrato model deserves a trial. This is a decision example, not a customer result or a universal recommendation.
For a remote purchase, verify the exact model, policy and delivered condition
For an online purchase, confirm exact model and revision, handedness, scale, pickup layout, bridge, included equipment and support in your market. If weight or neck dimensions are decisive, ask whether a value belongs to the actual unit or a nominal model specification. A photo cannot establish comfortable reach or correct fretwork.
Read the seller’s written return, shipping and modification terms before buying; do not assume a universal return right or warranty. Ask what setup or inspection is provided. Keep packaging and document the delivered condition before changing strings or parts. Follow the instrument maker’s acclimatization advice for its materials and temperature exposure; avoid a universal wait time. Check the same controls and playing conditions used for the short list.
Conclusion: choose the system that makes the required playing easier
Choose the electric guitar that meets the required sounds, fit, bridge operation and current setup in your actual signal chain. Record the specifications, your observations and what remains unverified. Accept a compromise deliberately instead of treating pickup letters, price or feature count as a quality ranking.
Confirm the support and equipment needed to keep playing. If a candidate misses an essential sound or remains uncomfortable, compare another instrument before assuming a modification will solve it.
Frequently asked questions
What should a beginner look for in an electric guitar?
Prioritize physical comfort, stable tuning, playable action, a pickup layout that suits the music, and access to a suitable amplifier. A clear setup and usable controls matter more than a long feature list.
Are single coils or humbuckers better?
Neither is universally better. Compare the exact models, useful sounds and noise in your rig. Keep amplifier input settings fixed to compare drive, then compare recordings at similar playback volume for preference.
Is a fixed bridge easier than a tremolo bridge?
A fixed bridge avoids floating string/spring balance. Vibrato systems add pitch movement, but operating and tuning interactions depend on whether the exact bridge is floating, decked, blocked or otherwise configured. Choose by the techniques and maintenance you accept.
How important is guitar scale length?
Scale length contributes to fret spacing and string feel, but gauge, tuning and setup also matter. Test complete instruments rather than treating one scale as universally easier.
Should a new electric guitar receive a setup?
Inspect it first. Transport and climate can alter relief, action and intonation, and a setup can adapt those variables to the player. Structural or adjustment-range problems require diagnosis rather than routine setup alone.
How this guide was prepared
This guide checks Fender neck-profile, layout and setup documents, Seymour Duncan’s humbucker construction explanation, Floyd Rose’s tuning/intonation procedures and D’Addario’s tension variables. Manufacturer documents support definitions and model-dependent setup relationships. The short-list routine, blank decision fields and hypothetical bridge example are editorial suggestions, not tests or buyer outcomes. No guitars were played, measured, repaired or approved by a human technical reviewer for this revision. Source comparison and language checks used AI assistance. A complete-guitar trial does not isolate a single specification.
Documentation checked .
Added nearby technical evidence and an electric-specific decision record, separated fixed-input drive from similar-volume listening, clarified the octave intonation screen, removed a fixed test duration and corrected cropped illustration descriptions.
Sources and further reading
- Fender: neck profile versus width, depth and radius
- Fender: setup components and environmental changes
- Fender Support: factory gauge and setup conditions
- Seymour Duncan: humbucker coil connections
- Floyd Rose: tuning interactions and bridge balance
- Floyd Rose: octave harmonic and fretted intonation check
- D’Addario: string length, pitch and unit weight
- Fender: bridge-to-neck pickup layout codes