
The decision in brief
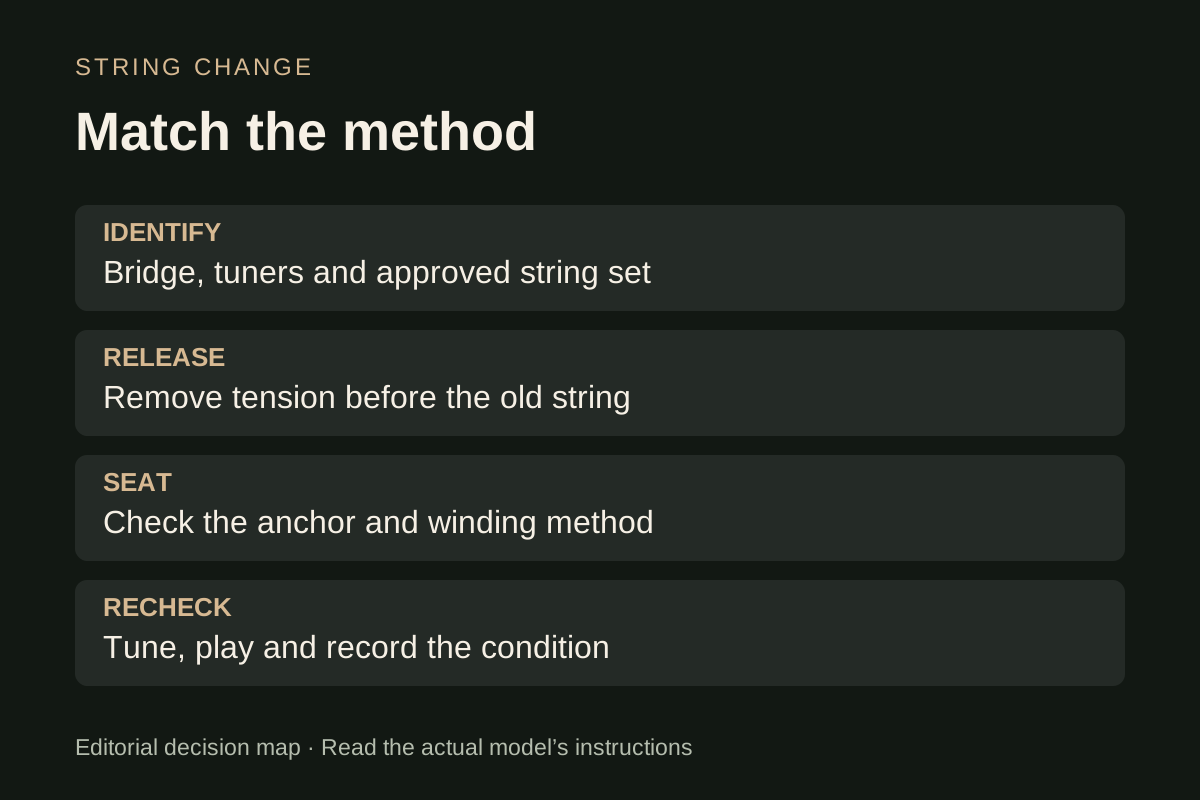
To restring a guitar, identify its string system, bridge and tuners first. Release the old strings’ tension, remove them by the correct route, seat each replacement securely, wind or lock it as specified, then tune gradually and recheck. The worked sequence here is for a conventional pinned steel-string acoustic with non-locking tuners; nylon ties, locking tuners and floating bridges need their own procedures.
Choose the procedure before removing the old set
| What you find | Choose the matching method |
|---|---|
| Pinned steel-string acoustic and ordinary posts | Use the guitar maker’s pin seating, slack and winding instructions |
| Nylon tie bridge and rollers | Use a nylon tying and roller-winding procedure for that bridge |
| Locking tuning machine | Identify its exact clamp; follow its loading and slack instructions |
| Floating, locking, headless or unfamiliar bridge | Use the documented system-specific procedure or have a technician demonstrate it |
Photograph the current route and record the model, tuning and approved replacement set. An old installation is useful context, but it may have been done incorrectly. Check the maker’s diagram when the route or string system is uncertain.
Taylor publishes separate steel and nylon methods. PRS also gives specific instructions for its cap-screw locking tuners. Their differences explain why one turn count or knot cannot serve every guitar. The guitar strings guide covers choosing the compatible set.
Sources: Taylor: changing steel strings, standard and alternative headstocks; Taylor: nylon strings and tie-bridge method; PRS: restringing its cap-screw locking tuners
Prepare the instrument, set and tools
Use a stable work area that supports the instrument without stressing the neck. Have the complete approved string set, tuner, suitable cutters and any maker-approved string or pin tool ready. Keep the packaging so you can identify the gauges and exact product later.
Check the bridge and visible string path before loading new strings. A lifting bridge, damaged fitting or unexplained movement needs assessment. If a string has repeatedly broken at the same point, record that location instead of assuming another set will fix it.
The sequence below assumes a conventional six-string pinned steel-string acoustic in sound condition. It does not instruct you to dismantle a bridge, remove a saddle, file a slot or adjust a truss rod. For this string change, use only the cleaning method approved for the actual finish and fingerboard. Keep steel wool, oils and unverified cleaning products out of a general-purpose routine.
Sources: D’Addario: acoustic restringing, preparation, seating and tuning
Release tension and remove the strings by their route
Turn the tuner slowly while watching a single string become looser. Confirm which direction releases tension on that tuner; a winding direction shown for another headstock is not a universal clockwise rule. Remove the string only after its tension has been released.
For the pinned-acoustic example, follow the maker’s approved pin-removal method and free the string end. Protect the surrounding finish, and stop if a pin will not release with the permitted gentle method. Do not pry an unfamiliar fitting against the saddle or top. Keep pins in order when the instrument’s instructions require a particular fit.
If the procedure allows all strings to be removed, that may provide access for cleaning. If you have a floating or unfamiliar assembly, establish its supported method before removing the set. The bridge comparison explains why a floating system is a separate case.
Sources: D’Addario: acoustic restringing, preparation, seating and tuning
Seat the replacement and use the correct tuner method
On the documented pinned-acoustic route, place the replacement’s ball end and pin as the maker shows. Apply a gentle upward pull on the string to confirm its seating before bringing it to playing tension. A pin beginning to rise during tuning is a reason to stop, release tension and check the installation.
Route the string over its correct saddle and nut position to the matching post. Use the slack, trimming order and winding direction specified for that headstock and string. Keep successive winds tidy. Taylor’s illustrated standard-headstock method uses two to three bass wraps and approximately six treble wraps; its slot-head instructions differ. Those numbers are not universal targets for other tuners.
A locking machine has a separate loading and clamp operation. PRS’s cited cap-screw method specifies its own slack and warns against overtightening; do not transfer that operation to a different locking design. A nylon tie bridge likewise needs a secure tie rather than a steel-string ball-end method. Use the relevant manufacturer tutorial for those branches.
Sources: Taylor: changing steel strings, standard and alternative headstocks; PRS: restringing its cap-screw locking tuners; Taylor: nylon strings and tie-bridge method
Tune gradually, then check the result by playing
Identify each target pitch and its register before adding tension. For conventional six-string standard tuning, the string order from low to high is E–A–D–G–B–E. Use the standard tuning reference if that is the instrument’s intended tuning; specialist setups need their own targets.
Bring the strings up gradually, checking seating and the route as you go. Follow the string and guitar makers’ settling guidance, then retune after a short passage. Do not keep tightening a string whose pitch or routing you have not identified. Handle sharp cut ends carefully.
Play open strings, familiar fretted notes and a chord. Record persistent slipping, a new rattle, an unusually hard press or a repeatable fretted-pitch problem. The intonation guide and action guide help describe those observations. They do not make every string change a reason to turn an adjuster.
Sources: D’Addario: acoustic restringing, preparation, seating and tuning
Keep a completion note that helps the next change
| Record | Useful detail |
|---|---|
| Instrument and strings | Model, date, exact set, full gauges and tuning |
| Installation | Maker’s procedure and any unfamiliar fitting |
| First check | Seating, open tuning and a short playing passage |
| Unresolved issue | String, position, symptom and whether it repeats |
If you changed gauge or tuning, include that fact. A new buzz or feel change then has a meaningful reference. When the replacement repeats the old approved setup and plays normally, retain the record without making extra adjustments just because new strings are fitted.
If a pin lifts, a string slips persistently or hardware moves unexpectedly, release tension as appropriate to the condition and have the installation assessed. A clear photograph and record help a technician distinguish a seating problem from another cause. Keep the old and new set details until the result is understood.
Frequently asked questions
Should I remove all six strings at once?
Use the procedure for the actual guitar. Access for cleaning can be useful where the maker allows complete removal, but floating and unfamiliar assemblies need their own handling. Identify that method before taking the set off.
How many wraps should I put around a tuner?
The headstock, post, string and maker’s method determine the slack and wraps. The Taylor figures in this article describe its illustrated method; they are not a specification for locking, slotted or unrelated tuners.
Does changing strings mean the truss rod needs adjusting?
No automatic adjustment follows from the act of changing strings. Record a change in gauge or tuning and check the actual playing condition. Persistent problems need the appropriate measurements and model-specific setup assessment.
How this guide was prepared
We checked D’Addario’s January 2026 acoustic restringing guide and compared Taylor’s steel-string and nylon-string instructions with PRS’s June 2026 cap-screw locking-tuner instructions. The pinned-acoustic sequence is a documentation-based explanation, not a service procedure we tested. Exact string length, winding, trimming and bridge handling follow the actual maker’s instructions. The inspection record is an editorial aid; it does not diagnose structural or setup faults.
Documentation checked .