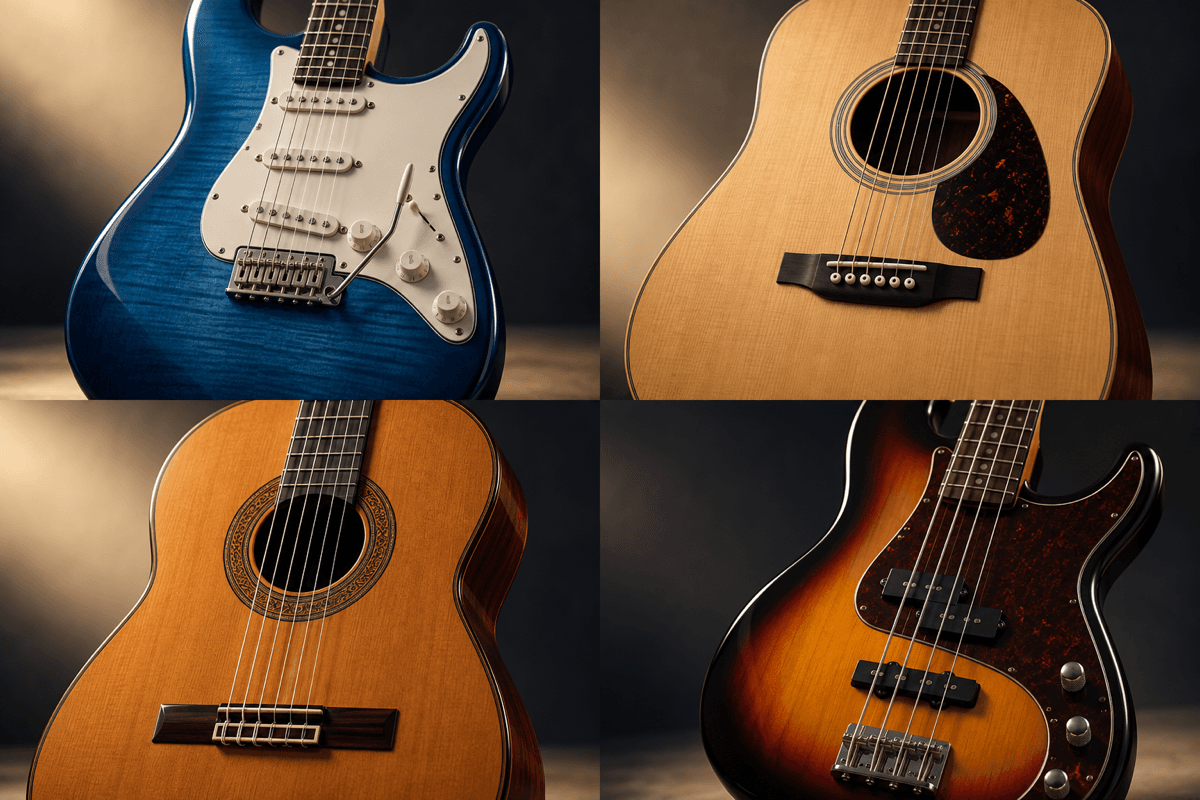
The decision in brief
Choose between a steel-string acoustic and a typical solid-body electric by the sound you need, the actual practice room and the complete working setup. An acoustic provides its room sound without an amp; an electric needs a suitable signal and monitoring path for its amplified voice. Try both for fit and the intended musical task. No compulsory acoustic-first learning sequence or universally easier family is established here. Keep input settings fixed for amplified drive, then judge tonal preference at similar recorded playback volume.
What matters most
- Name the musical task and acceptable room level.
- Try suitable examples for support, reach and usable notes.
- Verify the actual acoustic or electric listening route.
Acoustic vs electric at a glance
| Decision | Steel-string acoustic | Typical solid-body electric |
|---|---|---|
| Listening | Try its unamplified room sound | Try the intended amplifier or monitoring path |
| Room level | Evaluate actual playing volume | Check adjustable output and remaining string noise |
| Physical fit | Measure and try the actual body/neck | Measure and try the actual body/neck |
| Complete cost | Protection, strings, care and assessed work | Also account for listening gear, cable and power |
| Unverified item | Stage/recording path if not tried | Home rig or headphones if not tried |
This is a question map, not a size, loudness or learning ranking. Compare candidates in acceptable setup condition. For first lessons and a purchase plan, use the first-guitar guide; this page concentrates on the family and listening decision.
Where the sound comes from
A steel-string acoustic’s bridge transmits vibration to its soundboard, which radiates sound with the body. A conventional magnetic electric pickup converts string motion into an electrical signal. The electric’s usable amplified voice also involves the amp/interface, monitoring and settings. Its unplugged sound is not that whole system.
A classical nylon-string guitar is also acoustic. This comparison uses steel-string acoustics and typical solid-body electrics; use the steel/nylon comparison for that different string-system choice.
Yamaha describes acoustic-electric sound collection through a microphone or vibration sensor such as a piezo element. An acoustic output jack does not turn its body and string system into a conventional solid-body electric. Try its acoustic and amplified paths separately; unusual hybrids need their own documentation.
Sources: Yamaha: acoustic selection and string-system compatibility; Yamaha: electric and acoustic-electric signal collection

Compare feel, not the beginner myth
Try body support, first-position reach, actual string spacing, neck depth, fretting effort and the notes you need. Record strings, action and tuning. A thin body or light-string sample may suit you, but the family name does not establish those details or comfortable playing.
Use normal support and gentle familiar tasks; stop an uncomfortable trial and seek suitable individualized help for persistent difficulty. If you cannot play yet, request a slow demonstration and teaching help. A short trial cannot predict learning speed or diagnose a physical issue. The action guide separates string height from the wider setup question.
Let the music decide the first direction
Choose a familiar song or part and name what matters: unamplified voice accompaniment, clean electric attack, a driven riff or an effect-dependent texture. Try that task on both candidates with suitable equipment. A genre label is a starting question rather than a restriction.
Fender describes shared chord, scale and musical knowledge. That does not mean every touch, muting task or sound-production technique transfers unchanged. If both families serve the task, your preference is useful. If uncertain, a suitable loan, rental or lesson can provide another observation; no fixed learning sequence follows from the comparison.
Sources: Fender: acoustic/electric sound paths and shared skills
Plan for the actual practice room
For the acoustic, try the room volume you can use; a resonant instrument has no master-volume control for its unamplified sound. For an electric, verify the device’s instrument input, headphone or speaker output, cable and power. Ordinary passive headphones and a guitar cable alone do not make that complete route.
Try the real arrangement at a comfortable level, including latency if an interface is involved. Electric string and picking noise remain audible nearby. Count every required item, fitted protection, compatible strings and any assessed setup; this guide supplies no current price or cheapest-family rule.
If transport is decisive, use the travel guide to compare the entire kit. Stage and recording needs require the relevant pickup/microphone and monitoring system rather than a prediction from a quiet room.
Sources: Fender: acoustic/electric sound paths and shared skills
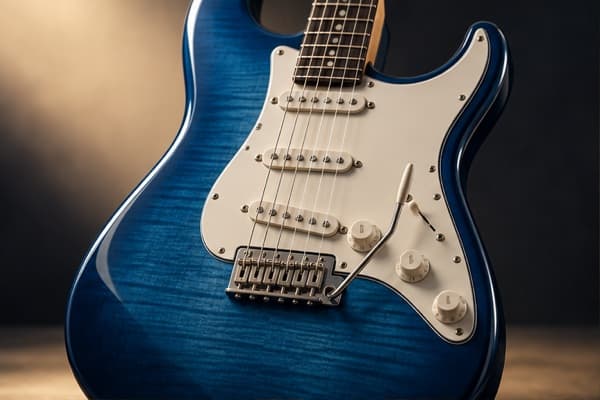
What amplification changes—and what it does not
Start with a useful clean electric sound, then the gain and effects your part requires. Keep amplifier input settings and guitar controls fixed when comparing how candidates drive the rig. For tonal preference, compare recordings at similar playback volume; lowering guitar volume before distortion changes drive and is a separate condition.
For an acoustic, keep listening position and playing task consistent. If another person demonstrates, record that change. A microphone recording can help recall, but position, automatic processing and playback level can alter the comparison. Evaluate installed electronics separately at a suitable level; no trial here establishes feedback resistance for every venue.
These are complete-system comparisons. An effect or pickup mode does not establish identical physical response to another family, and a processed online clip cannot certify your fit or the actual unit’s condition.
Understand the different upkeep
Check current tuning, usable notes, controls and concerning symptoms without forcing adjustments. Fender’s setup reference is conditional on model, factory gauge and player application; it is not a universal action target or proof that routine setup fixes every fault.
Both families need maker-appropriate care. Follow the actual instrument’s environment and string instructions. Structural uncertainty, a lifting joint or persistent unexplained behaviour needs suitable assessment. Do not fit steel strings to a nylon-string instrument; the string guide covers the separate compatibility question.
Sources: Fender: model- and gauge-dependent setup; Yamaha: acoustic selection and string-system compatibility
A five-step choice you can repeat
- Name the musical task and acceptable room level.
- Try suitable examples for support, reach and usable notes.
- Verify the actual acoustic or electric listening route.
- Record the complete kit and identified work within your own budget.
- Choose with a reason and keep essential unanswered questions open.
Keep four fields: task/room; actual instrument and setup; observations/gear; decision/unknowns. In a hypothetical case, headphone practice matters but the device is unavailable to try. That requirement remains unverified even if the electric looks preferable. A left-handed player should compare suitable instruments in the intended orientation; the orientation guide addresses that earlier decision.
A practical shop test for both candidates
Use this proposed routine rather than a fixed completion time. Tune the instruments and record strings and setup where known. Try the same easy chord, melody and rhythm with normal support. Ask permission before changing gear or settings.
Hear the acoustic at the room level you need. Hear the electric clean and through the intended gain, then try the actual headphone route when required. Separate input drive from similar-volume playback preference. Note which guitar fulfils the task and what remains untried.
If one sample needs excessive effort or has persistent unwanted noise, preserve the symptom and ask for assessment. Do not assume a cheap adjustment cures it. Your record can describe these instruments under these conditions; it cannot isolate family, string gauge or setup as the sole cause.
When this advice changes
For classical or flamenco lessons, include the required nylon-string system rather than treating every acoustic as steel-string. For stage, recording, shared housing or travel, repeat the decision using the actual listening and carrying conditions.
Hybrids, unusual pickups, handed orientation and individual movement needs require their own model or individualized checks. A recommendation for one room and task is not automatically valid after those conditions change.
The practical verdict
Choose the instrument family whose actual fit and usable sound support the task in your room and budget. Verify the listening equipment and current condition instead of treating a family name as a learning promise.
If both work, a preference is sufficient; if an essential part remains untested, keep the decision open. Continue with the acoustic or electric specialist guide when the family is settled, and the full buying guide for the rest of the purchase.
Frequently asked questions
Is one family always easier for beginners?
No universal ranking is established here. Compare the actual body, neck, strings, setup and listening route; a brief trial cannot predict learning speed.
Must I learn acoustic before electric?
No compulsory sequence follows from these instrument families. Confirm the music and lesson requirements, then choose a suitable working instrument.
Is headphone practice silent?
No silence is promised. Verify the actual device, power and connections; physical picking and string noise remain in the room.
Is an acoustic-electric a solid-body electric?
Not simply because it has an output jack. Verify the acoustic construction and installed sensor; try its acoustic and amplified paths separately.
Can I compare tone by turning down the guitar volume?
That can change drive into a distorted amplifier. Keep input settings fixed for that comparison, then compare recorded playback at similar volume for preference.
How this guide was prepared
We read Fender’s acoustic/electric overview and conditional setup reference, Yamaha’s acoustic-selection PDF and its acoustic-electric sensor explanation. Manufacturer categories support scoped sound-path and equipment context; their ease, genre, cost and universal-body assertions are not adopted as test results. The task/room record and repeatable trial are editorial suggestions. We played, measured or assessed no guitars or learners, verified no current prices or seller terms and performed no human technical or clinical review. AI assistance was used for source comparison and language checks. Existing images are cropped editorial illustrations, not documented trial samples.
Documentation checked .
Added a room-and-signal-path decision record, separated fixed-input drive from playback-volume preference, removed a fixed shop duration and behavioural learning promises, and corrected photo and full-instrument claims.